It’s over :(
July 26, 2019
It was time to be realistic. It’s been over 10 years since the project was started and there hasn’t been any progress at all in many years. As tends to happen, other projects and just life in general kept me busy.
As the body of this far-from-mint example was the least valuable part of the formula, and the body hadn’t exactly gotten better by standing outside for 10 years, I decided to have the body scrapped. I’m cutting my losses by selling the rest. The engine and transmission have already been sold. I’m still looking for a buyer for the interior, rear silencer, Bentley workshop manual, headlights etc. If you’re interested in the parts, leave a comment.
Thanks for reading, now go look up some other project, the internet is full of them. May I recommend Project Binky for instance?
-Edvin
Putting it back together
February 6, 2011
Finally began reassembling the engine today. It’s fun to be putting stuff back on the engine for a change. I had help from Kari, thank you for that. We started by cleaning a few more bits. Then we installed the oil pump, noticed that we forgot a few seals, took it off again and reinstalled with the proper o-rings. Then we installed both the upper and lower oil pans and finally turned the engine the right way up. Doesn’t sound like a lot, but it took a while with all the cleaning. I had planned to paint the lower oil pan, but why bother… It won’t be visible anyhow.
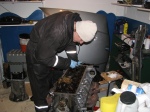 Me looking for debris that might’ve fallen into the engine. |
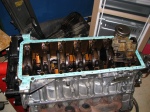 Oil pump installed and upper oil pan ready to go on. |
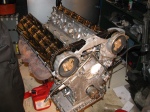 Engine the right way up. |
Next time I think I’ll open the alternator and take a look inside, as the previous owner told me that the car had some charging problems although the voltage regulator had been replaced. I should also give the transmission some attention. Oh, and I have to get the valve covers blasted and painted. I ordered some more parts after last time, only to discover that I already had bought them a year ago. Good thing they weren’t expensive.
Progress, finally
January 30, 2011
I apologize for the long delay in updating. I finally got something done today, although not as much as I had planned. As it’s been a while since I last worked on the project I had forgotten that I’ve ran out of a few supplies and tools. Will be trying to continue the project next week.
I finally got the crankshaft vibration damper off, which gave me access to the coolant pump. Fortunately the coolant pump seems to be ok, so I’ll just replace the o-rings and reinstall it. The crankshaft front oil seal also seems to be ok. I also dissected the oil pump a few months ago, no apparent signs of wear there either, more great news.
Next time I just have to do a bit more cleaning and then I can start reinstalling parts on the engine, starting with the oil pump and pan.
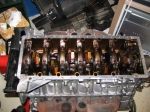 Bottom end without oil pump and oil pan. |
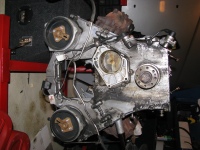 Crankshaft damper and coolant pump removed. |
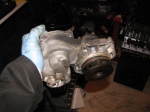 Water pump seems ok. |
Updates coming soon..ish
September 9, 2010
I have two weeks of summer vacation left, starting next monday. I intend to work a bit on the engine during my vacation among many other things, so updates are coming soon!
Edited October 17th.: The vacation came and went, unfortunately nothing happened to the car. I built a workbench in the garage, bought a new daily driver (another 7-series), traveled to Paris and worked on my new and old daily driver, but had no time left to work on the E32. I’m still hoping to get something done soon.
Progress at last
June 21, 2010
Here we are again, after a longish break. My summer vacation started, so I had a chance to work a bit on the car. I forgot that I had ran a bit low on supplies so instead of continuing cleaning the engine, I decided to remove both oil pans and the oil pump. The gaskets on both oil pans were in really bad nick, so that’s gonna help with the oil leaks.
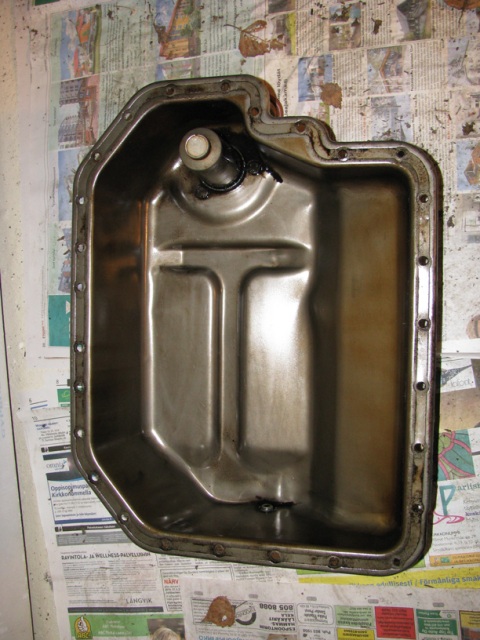 Lower oil pan removed. |
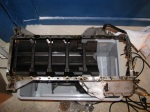 Upper oil pan too. |
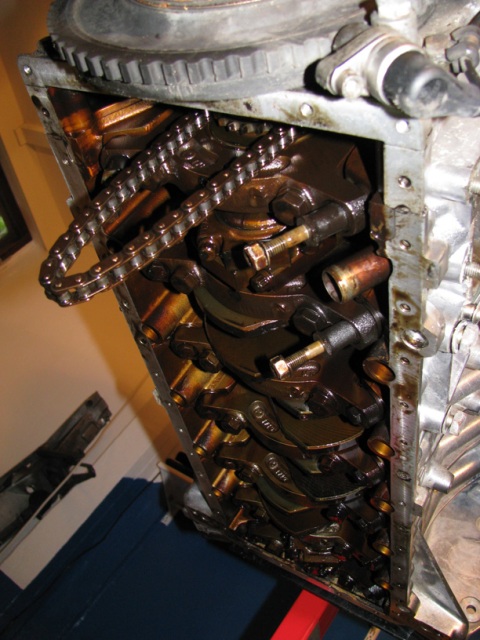 Bottom end visible. |
That’s really all I had time for (spent a lot of time cleaning the garage and looking for tools). Next time (soon hopefully) I’ll open and inspect the oil pump, clean the rest of the engine and hopefully start putting it back together again.
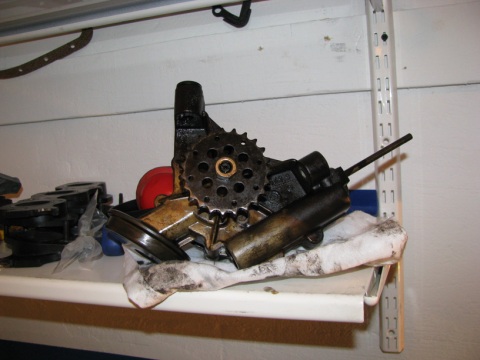 Oil pump awaiting inspection. |
Ultrasonic cleaning
May 2, 2010
Once again, sorry for the lack of updates lately. Work has still kept me busy, as has the start of the motorcycling season. I hope I’ll have more time to work on the car in the near future.
I’m still in the cleaning stage. I’ve been trying to think of good ways to clean parts, small and big. First I tried a citric acid bath, but that only really works on removing rust. I was going to use the power washer today and clean the transmission & some other parts, but the washer broke. Will have to get a better one. I figured a ultrasonic cleaner would be good, but all the larger ones seem to be meant for industrial use and cost a shitload… I managed to find a small metal washer on eBay for a reasonable price and bought it. There were a lot of cheap small plastic ones, but they looked like toys. The one I bought is pretty small, so I’m mainly gonna use it for cleaning nuts, bolts and other small parts like the fuel injectors. It doesn’t work wonders on the really dirty parts, but it beats scrubbing everything with a toothbrush and some parts looked really good after cleaning. It doesn’t help with oxidation and pitting, but it removes the oily gunk from the threads. I might have go at electrolytic cleaning next, just out of interest.
 My little ultrasonic cleaner. |
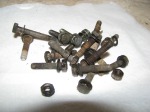 Parts before washing. |
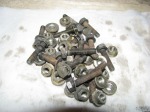 Parts after washing. |
I also cleaned the intake manifolds and a few other small parts in the dishwasher, don’t tell my girlfriend. 🙂 Those came out nice.
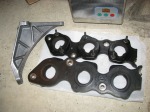 Clean intake manifolds. |
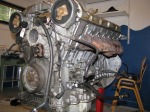 Current state of engine. |
Yet more cleaning
April 4, 2010
Today I got another chance to work on the car, but not as long as I would’ve liked as I ran out of brake cleaner and clean wipes. I brought many toothbrushes, but I only used up two of them.
I started by attacking the heads around the intake ports with a toothbrush. After a bit of cleaning I had them looking quite good. After that I was gonna move to the front of the engine. To get access to all the dirty areas I need to remove the waterpump and to remove that I need to get the crank vibration damper off. I removed all the small bolts and tried pulling it, prying it, whacking it with a hammer but it would just not move. I’m afraid of heating it, as it would damage the rubber part of the damper. Any ideas?
 Dirty head. |
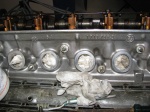 Clean head! |
Annoyed by this I moved to cleaning the cylinder heads on the other side. I got the whole right side of the engine cleaned and a bit of the left side before I ran out of brake cleaner. It’s not clean enough to eat from, but a lot better than before. Once I get most of the goo off I’ll go over the engine once more and either leave it as it is or paint the engine silver. The valve covers are in place just to protect the valvetrain from dirt. They will be media blasted and painted before installation. I will also paint the intake manifolds.
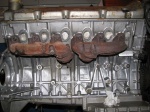 After a lot of toothbrush action. |
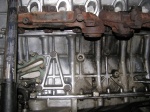 But then I ran out of cleaner. |
I’m still satisfied with what I achieved, although I ran out of supplies. It shouldn’t take many more cleaning sessions anymore, which is good because then I can clean the garage. Now the floor is very dirty and slippery and I can’t move the motorcycle because of it.
 I’m pleased with the result! |
Cleaning the engine
March 28, 2010
Sorry for the lack of updates lately, I’ve been really busy at work and haven’t had time to work on the car. Today I started cleaning the engine, and it appears to be a slow process. In retrospect I should’ve washed the engine with a power washer when I was removing it from the car. Now that it’s inside the garage I can only use brake cleaner and a brush. So far I’ve been only been scratching the goo away with a screwdriver and vacuuming. Next time I’ll have to bring a whole lot of toothbrushes. I’m tempted to dismantle the engine further, but I can’t justify spending a lot of money on gasket sets and headbolts just to clean the engine up.
No pics today, as the batteries were empty in my camera. I hope I’ll have more time to work on the car soon. After all there’s not that much stuff to do on the engine. I’ve set myself a goal to get the car running by the end of this summer, or at least get the engine in the car.
Intake manifold, valve covers off
February 21, 2010
No sign of that snowstorm, so I got a bit of work done on the engine. First I took the intake manifold off. Some of the bolts were a bit tricky, but with enough extensions and a magnet to guide the sockets on to the bolts I got them all off. Refitting is gonna be harder.
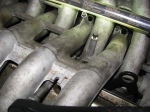 Removing intake manifold nuts. |
Most of the oil seems to be leaking from the intake manifold gaskets, which is bad news as they cost 4x $200. I think I’m gonna remove them, inspect them carefully and if they’re not completely hopeless just reuse them with a lot of gasket sealant.
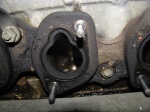 Intake manifold gaskets. |
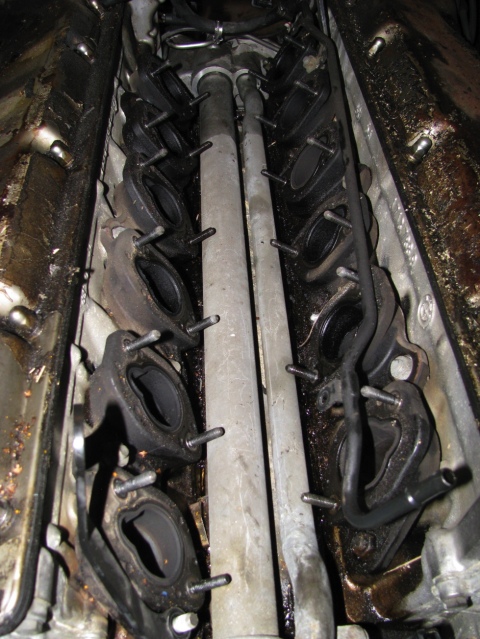 Oily mess. |
I also took the valve covers off. The camshaft lobes didn’t have any grooves in them, but they aren’t evenly shiny. I’m not sure if that’s acceptable or bad? Maybe someone can give me confirmation on this. However, quite worryingly I found a piece of metal wire crumpled up in one corner of the valvetrain. I couldn’t figure out what it was for, and why someone would leave it in there? Weird..
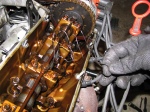 Metal wire. WTF? |
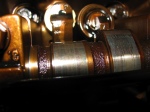 Camshaft condition. |
 Another engine shot. |
Finally I took the alternator/hydraulic pump mount off the engine. Someone had broken off one of the alternator mounting bolts, will have to take the mount somewhere to get the bolt drilled out. That’s about all I had time for.
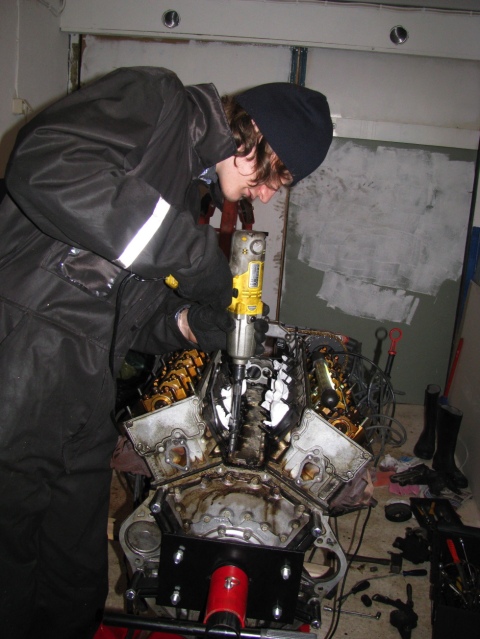 Yours truly mucking about. |
Plans for the weekend
February 19, 2010
This project was featured over at Tamerlane’s Thoughts. Click here to check it out. I was also interviewed on Finnish car culture.
Anyway, on to the car itself. I was planning to do some work this weekend, but now I’m not sure anymore, because according to the news the worst snowstorm this winter is coming this weekend. I was gonna work inside, but I’m not sure if I’m gonna bother driving to the garage (some 40km away, partly on unplowed roads) in a storm.
Bought a few more parts for the car. First I ordered new valve cover and oil sump gaskets etc. from my BMW dealer. At least those need to be replaced, not sure what else until I get to work on the engine. I also got a leather interior restoration kit (two kinds of leather cleaner, black dye, and protection cream). I might make another mini-project (like the engine removal) about the interior restoration. I was thinking about taking the seats somewhere to refurbished, but that would have cost way more than the interior cost me, so I just ordered the DIY-kit.